The Paper Tractor and the Real One: Verifying Implement Specifications Against the Machine in Your Yard
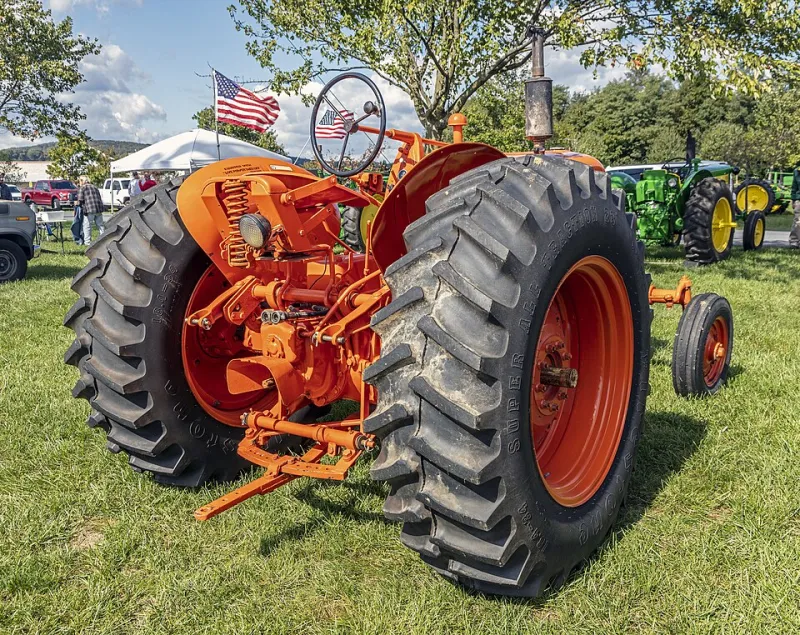
Photo: Acroterion, CC BY-SA 4.0, via Wikimedia Commons
Buying an implement is, in practice, an exercise in applied arithmetic. The machine arrives with a set of requirements — so much power at the shaft, so much lift at the ball ends, so many litres per minute at a stated pressure — and those requirements must be met by a tractor that was probably specified for a different job entirely. Most disappointing purchases in 2026 will not be failures of quality. They will be mismatches that were visible on paper months before the delivery lorry arrived.
What follows is a sequence for checking an implement against the tractor you already own, rather than against the tractor the dealer had in mind when the specification sheet was drafted.
Power at the Shaft Is Not Power at the Flywheel
Almost every implement brochure quotes a minimum PTO horsepower. Almost every tractor brochure leads with engine horsepower. The gap between them is the transmission, the hydraulics and the ancillary loads, and it is rarely small — a rule of thumb of 10 to 15 per cent losses is reasonable for many modern tractors, though continuously variable transmissions and heavy hydraulic demand can widen it.
When you compare the two documents, make sure you are comparing like with like. A tractor rated at 150hp at the engine may deliver something closer to 128hp at the 540rpm shaft, and the implement's requirement is normally stated at rated PTO speed. Check also whether the figure quoted is maximum power or rated power; the two can differ by 10hp or more on tractors with boost strategies, and boost is often conditional on transport speed or PTO engagement in ways that do not suit field work.
Watch for implements specified for 1000rpm PTO when your tractor only offers 540, and for economy PTO settings (540E or 1000E) that deliver the required shaft speed at lower engine revolutions. These are excellent for fuel and noise, but only if the implement's gearbox is rated for the torque involved — some are not.
Lift Capacity Depends on Where You Measure It
A linkage figure quoted without a reference point is close to meaningless. Lift capacity at the ball ends is always higher than lift capacity 610mm behind them, which is the position used in the standardised test codes and the one that matters for most mounted implements, because that is roughly where the centre of gravity of a mower, a fertiliser spreader or a mounted drill will sit.
The difference between the two figures can be substantial — 20 to 30 per cent is not unusual. A dealer quoting the ball-end number for a heavy mounted implement is not necessarily misleading you, but you should ask which figure is being used, and at what hydraulic pressure.
Two further constraints sit behind the headline lift number. The first is front axle unloading: a heavy mounted implement transfers weight off the front axle, and if the front axle load falls below roughly 20 per cent of the total, steering and braking deteriorate noticeably. The second is rear tyre capacity. Check the load rating of the tyres currently fitted against the combined weight of the implement, the linkage and the rear of the tractor. Uprating tyres is a legitimate cost of a bigger implement, but it should be in the budget before purchase, not after.
Hydraulics: Flow Is Only Half the Story
The implement's requirement will usually be expressed as litres per minute at a stated pressure. Your tractor's capability is usually expressed as litres per minute at maximum engine speed, with the steering and other priority services already accounted for — or not, depending on how honest the brochure is.
Three practical points arise. First, flow at 1,500rpm is what you will actually have when baling or mowing at part throttle, and it can be a third lower than the headline figure. Second, open-centre and closed-centre systems behave differently with constant-flow demands; a hydraulic-motor-driven implement such as a flail mower or a fertiliser spreader fan needs a proper continuous-flow circuit or a dedicated power-beyond installation, not a lash-up on a spool valve. Third, motors of this type often require a case drain line back to the reservoir, and a tractor with only two rear couplers may simply not have the outlets to run the implement as designed.
Ask for the pressure and flow requirement of the implement, then confirm your tractor's relief valve setting. Supplying too little pressure is a performance problem; supplying too much is a warranty problem.
Width, Weight and the Rules of the Road
For UK road use, 2.55m remains the general width limit for agricultural vehicles, with a small number of categories permitted at 3.0m under specific conditions. A mower or roller that folds to 2.6m will need a movement order or a different route, and that administrative burden belongs in the decision, not in the first week of the season.
Transport weight matters too. A mounted implement pushes load onto the rear axle and, via the linkage, onto the rear tyres; a trailed implement shifts weight onto the drawbar and can change the towing vehicle's braking obligations. If the combination approaches 3.5 tonnes gross, check the braking and hitch requirements carefully — the rules on trailed appliance braking have tightened in recent years and enforcement attention has followed.
A Field Check You Can Run in an Afternoon
Before committing, arrange a demonstration on your own ground with your own tractor. Then do the following:
- Measure the actual lift height at the implement's mounting points, not the linkage arms, and confirm the implement clears the ground through its full working range.
- Time the lift from ground to transport height with the engine at working speed. If it is slow with a cold tractor, it will be slower with warm oil.
- Run the implement for 20 minutes and then feel the hydraulic oil temperature. Excess heat points to restricted flow or an undersized reservoir.
- Check PTO shaft length and guarding on the actual combination. A shaft that is too long will damage the tractor's bearing; one that is too short will disengage on headland turns.
- Load the rear tyres to the expected figure and check for sidewall deflection and axle clearance.
- Take the combination onto a slope you use regularly and assess steering authority and braking.
None of this requires specialist equipment. It requires an hour, a tape measure and a willingness to be unimpressed by a specification sheet.
The implement that suits your farm is the one that matches the tractor you have, not the one that matches the tractor in the photograph. Reading the numbers in the right places, and testing them in the yard, is the cheapest form of due diligence available.