Cold-Start Confidence: A Ten-Point Winter Readiness Routine for Tractors and Telehandlers
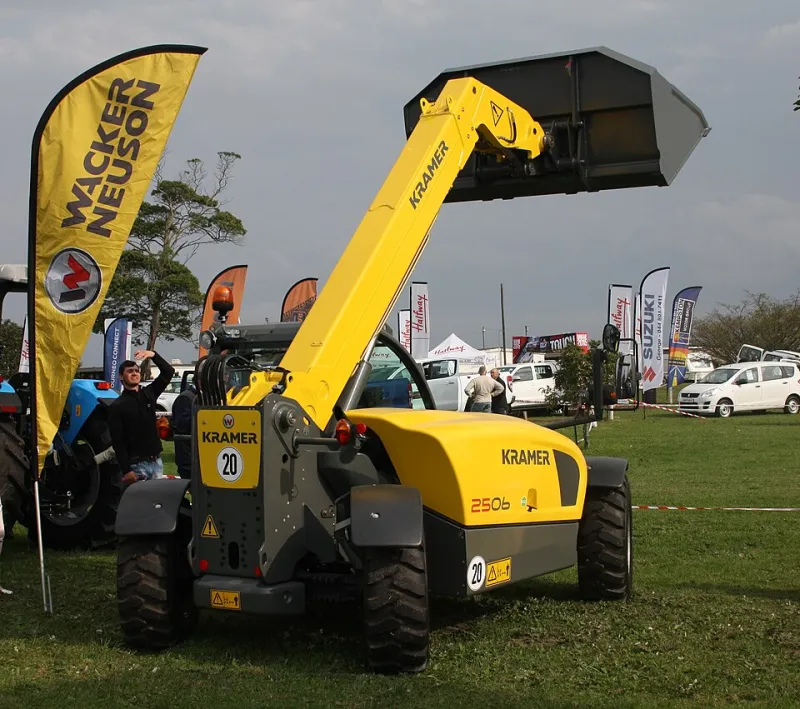
Photo: Bob Adams from Amanzimtoti, South Africa, CC BY-SA 2.0, via Wikimedia Commons
Why a winter routine pays
Winter is rarely kind to farm machinery. Short daylight hours, saturated ground, road salt and repeated cold starts combine to expose weaknesses that may have gone unnoticed during a busy autumn. For tractors and telehandlers, the cost of a breakdown is not limited to the repair invoice; it also includes lost labour, delayed livestock work and the risk of contracting out tasks at short notice. A disciplined pre-season check is therefore less about cosmetics and more about commercial continuity.
The following ten-point routine is designed for a UK workshop wall. It assumes basic tools and a dry bay, but it does not require a main dealer. Where a check reveals a fault beyond routine adjustment, the sensible course is to book specialist attention before the machine is needed in earnest.
1. Battery condition and charging system
Cold cranking places heavy demands on a battery that may already be operating below full capacity. Use a conductance tester rather than relying on a voltmeter alone, and inspect terminals for corrosion and tightness. Check alternator output and belt tension, and confirm that any isolation switch is working correctly. On telehandlers with frequent short duty cycles, a maintenance charger can be a practical safeguard.
2. Coolant strength and cooling pack integrity
A refractometer gives a reliable reading of antifreeze concentration. Top up only with the correct specification, and check hoses, clamps and the radiator core for signs of seepage or debris. On tractors used for loader work, the cooling pack can become clogged with chaff and mud; a careful clean now is preferable to an overheating incident later.
3. Engine oil, filters and fuel system
Cold oil is thicker, and a restricted filter adds unnecessary load at start-up. Check oil level and condition, and replace filters in line with the service schedule. Drain water from fuel pre-filters and inspect for signs of microbial contamination. Treat bulk fuel storage as part of the routine, not an afterthought.
4. Hydraulic hoses, couplings and oil condition
Inspect every hose for cracking, chafing and damp patches, particularly where pipes pass through tight radii or near exhaust components. Check quick-release couplings for dirt and wear. Confirm hydraulic oil level and condition, and look for emulsification. A small weep that is tolerable in summer can become a persistent failure in freezing conditions.
5. Tyre pressures, tread and wheel hardware
Cold air reduces tyre pressure, so set pressures according to the load and task rather than a remembered summer figure. Check tread depth, sidewall condition and valve caps. On telehandlers, pay particular attention to wheel nuts and stud condition, and confirm that the correct torque is applied. Mud and frost can hide loose hardware.
6. Brakes, steering and transmission safety
Test service brakes and the parking brake on a suitable surface. Check steering response and look for play in linkages. For tractors, confirm that transmission oil level is correct and that any shuttle or clutch calibration is within specification. Safety-critical systems should not be deferred because the machine is only on light winter duties.
7. PTO guards, shafts and driveline protection
Inspect PTO guards for cracks, missing fasteners and interference with the shaft. Confirm that the shaft turns freely and that shear bolts or clutches are correct for the implement. On tractors used with mixers, feeders or snow equipment, the PTO area is a common point of avoidable injury and costly downtime.
8. Cab heating, ventilation and visibility
A cab heater that fails in January is more than an inconvenience; it can lead to misted glass and poor operator concentration. Check heater output, blower speeds and demisting. Replace wiper blades, top up washer fluid with a winter-grade mix and inspect work lights and beacon connections. Clean mirrors and cameras, and confirm that any reversing alarm is audible.
9. Telehandler-specific checks
Telehandlers deserve a separate walk-round. Inspect boom wear pads, pins and locking devices; check chains for tension and damage; and confirm that load charts and decals are legible. Test the overload warning system and check that the quick-attach carriage is secure. Grease the machine thoroughly, especially around the boom and rear axle, and inspect for cracks in high-stress areas.
10. Lubrication, fasteners and the workshop checklist
Complete a full grease routine using the correct specification. Check wheel nuts, loader frame bolts and any mounted implement fixings. Confirm that the fire extinguisher is in date and that the first-aid kit is stocked. Record every finding, including items deferred, so that the next service has a clear history.
Printable workshop checklist
- Battery tested; terminals clean and secure; charging system checked
- Coolant strength and cooling pack inspected
- Engine oil, filters and fuel pre-filters checked
- Hydraulic hoses, couplings and oil condition inspected
- Tyre pressures set for winter duties; wheel hardware torqued
- Brakes, steering and transmission checked
- PTO guards, shafts and driveline protection inspected
- Cab heating, demisting, wipers and lights tested
- Telehandler boom, chains, wear pads and load charts checked
- Grease routine completed; fasteners checked; records updated
The commercial case for doing it now
A winter readiness routine will not eliminate every failure, but it shifts the balance from reactive repair to planned maintenance. For farms and contractors, that means fewer cold-morning delays, better control of parts costs and a clearer picture of which machines are fit for the season ahead. The most useful outcome is not a pristine workshop wall checklist, but a machine that starts, works and stops safely when the weather is at its worst.